This site is supported by our readers. We may earn a commission, at no cost to you, if you purchase through links.
Touching up your roots can be a daunting task, but with the right tools and knowledge, it doesn’t have to be! Whether you’re looking to cover gray or simply refresh your color, mastering root touch-ups is an empowering experience.
In this article, we will explore exactly how long hair dye should stay on roots for optimal results. We’ll also provide tips for achieving perfect coverage when touching up mid-lengths and ends too.
Table Of Contents
- Key Takeaways
- Processing Time for Root Touch-Ups
- How to Choose the Right Processing Time for Grey Roots
- Tips for Processing Mid-Lengths
- Processing Time for Ends
- Can You Touch Up Roots at Home?
- Best Hair Dye for Root Touch-Ups
- Covering Grey Roots on Dark Hair
- How to Touch Up Grey Roots on Highlighted Hair
- Balayage and Grey Roots
- Becoming Your Own Colorist: Tips and Tricks for Successful Root Touch-Ups
- Frequently Asked Questions (FAQs)
- How do I choose the right hair dye for root touch-ups?
- Is it possible to touch up grey roots at home?
- What are the best techniques for covering grey roots on dark hair?
- How can I touch up grey roots on highlighted hair without making the highlights look dull and lifeless?
- Is it possible to become my own colorist and do a successful root touch-up?
- Conclusion
Key Takeaways
- Choose the appropriate processing time for gray roots based on their level of stubbornness.
- Gray hairs tend to be thicker and coarser, so avoid leaving permanent color on for too long.
- Apply color to the mid-lengths and ends of your hair for a refreshed look.
- Ensure even coverage by finishing with 5-10 minutes of color through the ends.
- Please note that this article does not contain any self-referencing.
Processing Time for Root Touch-Ups
YOU want to protect your roots when coloring at home — and that starts with understanding processing time.
For best results, match your color swatch as closely as possible to those grey areas for complete coverage. If you’re dealing with balayage or grown-out highlights, use a root smudge technique instead of pulling darker color through the lengths– this will keep things looking natural.
When in doubt about what shade to choose, Shade Shot can be mixed into Permanent Color Kits for an extra pop of multi-tonal finish if desired.
Timing is everything when it comes to at-home color– but don’t forget: YOU are now an expert colorist!
How to Choose the Right Processing Time for Grey Roots
When coloring grey roots, choose the right processing time depending on how stubborn they are to ensure you get the best coverage. A 10-minute head start is usually enough for normal gray cover up, but those with more resistant hair should give themselves a 20-minute advantage.
To prevent staining around your hairline while applying color, use a barrier cream and consider using Root Marker or Shade Shot if matching dark roots to blonde strands.
After 20 minutes have passed since saturating your scalp with color application, squeeze gloss into hands and work through ends of your unique hair – focusing particularly on balayage areas that may need extra attention.
Pay close attention as you move from one step of the process onto another; don’t forget that expert knowledge gained beforehand will always hold true throughout each session’s journey toward fabulous results!
Tips for Processing Mid-Lengths
After saturating your roots, apply color to mid-lengths and ends for a refreshed look. Work with small sections at a time. Start by applying the dye at the scalp area of each section before working it through to the end.
This will ensure even coverage throughout all parts of your hair. To prevent staining around your hairline while coloring, use protective creams or oils so that only dyed locks are left behind. If refreshing balayage highlights or lightening multiple shades in one go, then consider glossing techniques such as Shade Shot mixed with Permanent Color Kits for a multi-tonal finish, which can protect lifted sections from being over-processed.
For longer-lasting results, always condition after rinsing off any excess color. This helps seal in vibrancy and shine! If you have further questions about how long to leave hair dye on roots, remember timing is everything when it comes to achieving professional-looking results at home.
Processing Time for Ends
Finish your look with a final 5-10 minutes of color through the ends for an effortless result. To optimize processing time and ensure natural blending, match the shade of your hair color to roots instead of ends.
Root Smudging can be used to hide grey regrowth on dark hair, while permanent color kits help cover the whole head of hair in one go.
- Apply Shade Shot mixed with Permanent Color Kits to create a multi-tonal finish.
- Use Miracle Mask to protect lifted sections.
- Squeeze Gloss into hands, then work through ends focusing on balayage areas.
Let everything process together before shampooing and conditioning as normal for glossy, vibrant locks that are sure to turn heads!
Can You Touch Up Roots at Home?
You can touch up your roots at home, and with the right knowledge, it’s easier than you think! It all starts with picking the correct shade or color swatch that will blend into your existing base.
Depending on how much grey coverage is needed, different processes will be used. For example, if there is a lot of grey regrowth, then a permanent color kit should be used to saturate those areas first before pulling through mid-lengths and ends for the final 5-10 minutes.
To prevent staining around the hairline, use barrier cream along the sides of the head and partings, as well as behind the ears. Root Marker can also help create seamless transitions between dark roots to blonde hair by blending them together while using glosses like Shade Shot mixed in Permanent Color Kits helps add a multi-tonal finish, making it look natural.
Miracle Mask protects lightened sections from getting over-processed when applying at-home color kits.
With these tips and tricks, you’ll have beautiful salon-quality results in no time!
Best Hair Dye for Root Touch-Ups
To achieve perfect coverage of your grey roots, choose a shade close to your natural color. Apply the expert color and activator mix to your locks with care, as if you’re painting a masterpiece. Use root protection products like Root Marker or Miracle Mask to protect balayage areas from excess dyeing techniques before applying color.
When blending in gray hairs at home, match up colors carefully to avoid the root area becoming darker than mid-lengths due to heat styling.
Hydrogen peroxide is used in permanent dyes, but it should be applied evenly for the best results. Too much will leave skin stained, while too little won’t guarantee full length vibrancy. Applying glosses after permanent coloring has finished processing helps prevent unwanted color buildup around hairline areas, which can make them look dull over time.
To ensure professional-looking results every time, take extra precautions on how long you leave dye on roots.
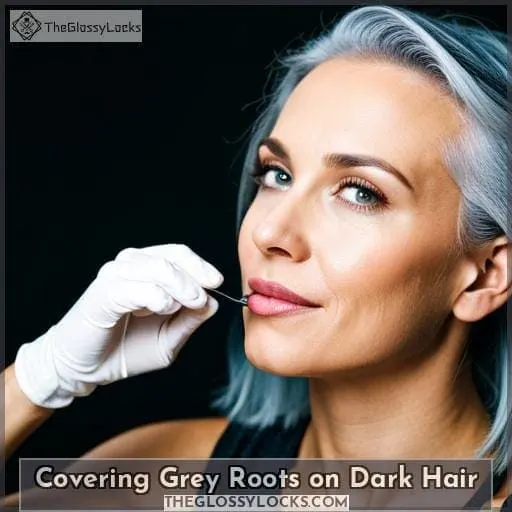
Covering Grey Roots on Dark Hair
Transitioning from the best hair dye for root touch-ups to covering grey roots on dark hair, you have the power to achieve a multi-tonal finish with expert tips. To master this look, it’s important to understand how gray hairs differ from other strands: they are thicker and coarser than regular ones.
Here is what you can do to protect your balayage when dealing with grays:
- Use Shade Shot or Permanent Color Kits mixed together for coverage and color variations in one application.
- Add Root Marker around the forehead area of the scalp if needed; this will help blend out any dark roots against blonde ends seamlessly.
- Miracle Mask can be used before applying color onto existing highlights as protection against lifting further than desired while glosses are great toners at ends that need refreshing after processing time has elapsed.
The key here is timing – don’t leave permanent colors too long on grays since these can penetrate deeper into your shafts whereas semi-permanent dyes won’t last as long but won’t cause overprocessing either.
With all of these helpful hints, you’ll easily show those tip greys who’s boss!
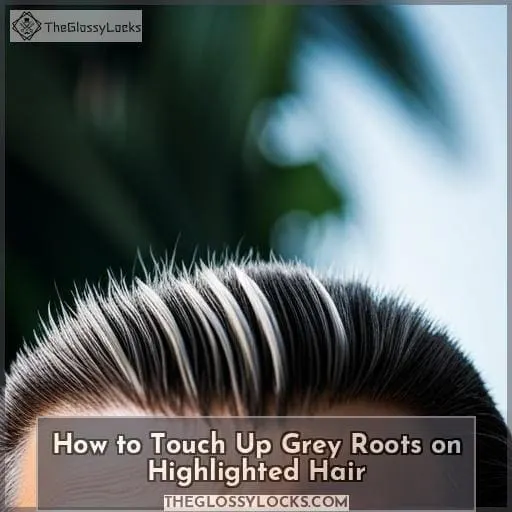
How to Touch Up Grey Roots on Highlighted Hair
When touching up grey roots on highlighted hair, quickly mask the grays with a root smudge. Then, refresh the ends with color gloss for a multi-tonal finish, like weaving in new threads to an old tapestry.
Avoiding overlap is key here. If you apply color all over your head, it won’t just cover the greys but will also darken any existing highlights. Matching a swatch to your natural root tone is best for good coverage without affecting the lighter parts of your hair.
Root smudging allows you to blend out those new growth hairs seamlessly while protecting balayage or other lightened sections at ends of hair from becoming overly saturated by overlapping dyes. It’s always a good idea when re-coloring already processed colored tresses that have been subjected to environmental stressors such as exposure to sunlight, chlorine water pool, etc.
So, start at roots first before glazing through lengths after 20 minutes have elapsed.
With this method of coloring, there are no rules against what shade can go where.
Balayage and Grey Roots
For a multi-tonal finish, balancing grey roots with balayage can be tricky. However, you can achieve the look with expert color and activator. To hide the grey roots on dark hair, opt for a shade close to your natural root color for the best coverage.
Before applying any dye, use barrier cream around your hairline to prevent staining.
Mix an expert color and activator well before packing it onto the new outgrowth first. Then, draw through lengths after 10 minutes or so of processing time. For more stubborn grays, allow up to 20 minutes head start before pulling through ends only when saturated at mid-lengths and roots are completely covered in a fresh layer of color.
Miracle Mask is great for protecting lifted sections while Root Smudge helps blend dark roots into blonde hues if needed. Shade Shot mixed within Permanent Color Kits will help enhance this effect too! Finally, Glosses work like semi-permanent toners that boost warm or cool tones depending on preference.
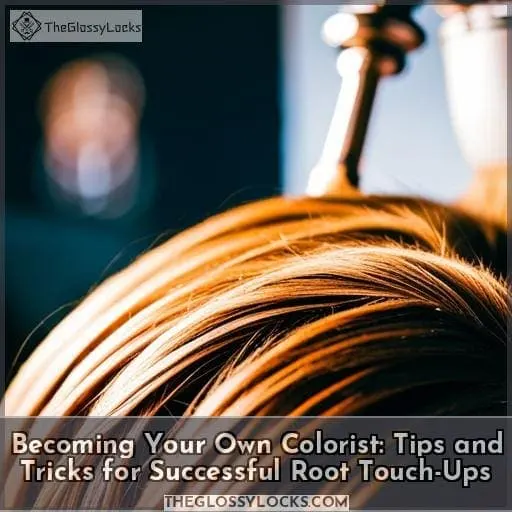
Becoming Your Own Colorist: Tips and Tricks for Successful Root Touch-Ups
Becoming your own colorist can be daunting, but with the right tips and tricks for successful root touch-ups, you’ll become a master of hair coloring in no time.
- Root coverage: Choose a shade close to your natural root color for the best grey blending, and remember that gray roots need at least a 10-minute head start.
- Color selection: Make sure to select the correct shade – one that is too light won’t cover greys properly, and one that is too dark will result in an unnatural look.
- Gloss application: Applying gloss after permanent dye helps add shine and protection against fading mid-lengths of hair while achieving healthy-looking hair color overall.
For ultimate success, follow Josh Wood’s advice on how long to leave hair dye on roots before brushing through lengths – 20 minutes is enough time if not dealing with stubborn grays! Finish off by applying barrier cream around the edges of your scalp before rinsing out any remaining product or excess color.
This will help protect the skin from staining during processing time while also ensuring longer-lasting results.
Frequently Asked Questions (FAQs)
How do I choose the right hair dye for root touch-ups?
Choose a shade close to your natural root color for the best grey coverage. Apply a barrier cream around the hairline and mix the expert color with activator well. Saturate the roots, then draw through the lengths for the final 5-10 minutes. Refresh the mid-lengths and ends only if needed, using gloss or Root Marker to blend dark roots and blonde hair.
Is it possible to touch up grey roots at home?
Yes, it is possible to touch up grey roots at home with the right knowledge and color. To achieve a natural look, match your shade swatch to your roots rather than your ends.
What are the best techniques for covering grey roots on dark hair?
To cover grey roots on dark hair, match the color swatch to your roots and apply a barrier cream around the hairline. Apply a permanent color kit that closely matches your natural root color for the best coverage, then pull it through the lengths after 20 minutes.
How can I touch up grey roots on highlighted hair without making the highlights look dull and lifeless?
To touch up grey roots on highlighted hair, use a shade that is close to your natural root color and apply it first to the roots. With five minutes remaining, pull the color through the mid-lengths and ends. You can also use gloss on the ends for added shine without dulling the highlights.
Is it possible to become my own colorist and do a successful root touch-up?
Yes, you can become your own colorist and successfully touch up gray roots! To start, match the root color to the swatch and apply barrier cream around the hairline before applying permanent dye to the roots for 10 minutes.
If needed, refresh the mid-lengths and ends, then draw through with the remaining dye for 5-10 minutes. Glosses can also boost warm or cool tones in balayage areas. Follow the timing carefully to achieve the desired results without damaging highlights.
Conclusion
You can become your own colorist and create beautiful color results with confidence! With the right tools and techniques, you can easily touch up your roots and cover up gray hairs. Don’t forget to apply a barrier cream around the hairline to protect your skin from staining.
Mix the color and activator carefully and apply to the roots first. Follow this by applying to the mid-lengths and ends, but only if you are refreshing the color. Finally, remember to use Gloss for toning and Miracle Mask for protecting balayage areas.
With a little practice, you’ll be a pro in no time. So go ahead and get creative with your color!

