This site is supported by our readers. We may earn a commission, at no cost to you, if you purchase through links.

To craft a quirky yarn beard, start by gathering your materials – 1 yard of grosgrain ribbon, 10 inches of grosgrain ribbon, 40-60 pieces of 36-inch yarn, scissors, and a sewing needle.
Begin by cutting the longer ribbon to your desired beard length, then tie the yarn pieces to it.
Braid the yarn and secure the braids to the ribbon.
For added flair, create fishtail and regular yarn braids, knotting them at the top before attaching them to your beard.
Finish by bunching the yarn ends, trimming the beard, and tying it behind your head.
Experiment with different yarn colors and braid styles to create a truly unique look.
Table Of Contents
Key Takeaways
- To create a unique and quirky yarn beard, gather essential materials such as grosgrain ribbon, yarn, scissors, and a sewing needle, and consider adding beads or feathers for extra flair.
- Customize your beard by choosing the length and color of the yarn, and by deciding on the style of braids (fishtail or regular) to add to the beard for added texture and volume.
- Secure the beard by tying the top ribbon around your head like a headband and adjust the length and fullness by trimming the ends and bunching the yarns.
- Experiment with different yarn colors, braid styles, and embellishments to craft a personalized yarn beard that reflects your individual style and creativity.
How to Make a Fake Beard With Yarn?
To make a fake beard with yarn, follow these steps:
- Cut three pieces of yarn about 36 inches long.
- Knot the pieces together at one end and then braid them together, knotting again at the other end.
- Use a grosgrain ribbon to attach the beard to your face. Cut a 1-yard piece of ribbon and another piece approximately 10 inches long.
- Tie the yarn beard to the shorter ribbon, which will fit under your bottom lip.
- Divide the big piece of beard into thirds and knot the bottom lip ribbon to the little open area between the thirds on each side.
- Make sure to knot it tight or it can come loose.
Remember to adjust the length of the beard to fit your face and choose a color that matches your costume or desired look.
Gather Materials
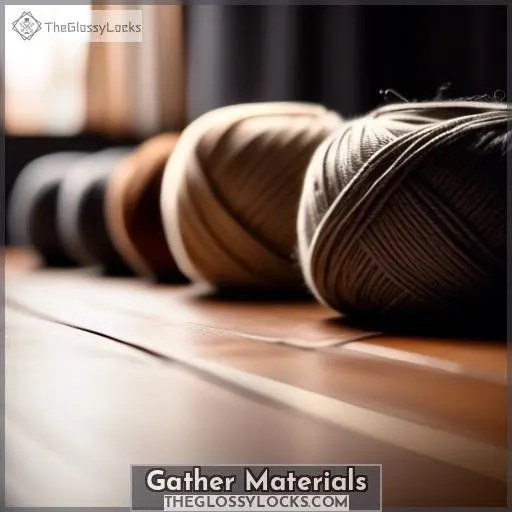
Prepare to set free your inner artisan and knit up some enchanting allure? Begin by securing your necessities: a meter of resilient grosgrain ribbon and its 25-centimeter companion. Subsequently, gather a coil of yarn—opt for a yarn length that will allow your fabricated beard aspirations to soar.
Contemplate color possibilities; perhaps a fervent red or a sagacious gray? Furthermore, don’t overlook those stylish accessories—beads or plumes—to enhance your beard variations.
Craft your path to a liberating transformation with these adept companions as your allies!
Create the Beard
To create a quirky yarn beard, you’ll need to gather the right materials and follow a few simple steps. Here’s a detailed guide to help you get started:
- Gather Materials: You’ll need grosgrain ribbon (1 yard and 10 inches), yarn (40-60 pieces, 36 inches each), scissors, and a sewing needle.
- Add Braids: Use 10 pieces of yarn for fishtail braids and 6 for regular braids. Knot the top of the braid. Braid the yarn. Count out from the middle of the beard to place the braids. Tie the braids to the beard at the counted spots.
- Finishing Touches: Bunch the yarns and knot the open ends of the ribbon. Trim the beard ends as desired. Tie the beard on the back of your head. Place the lower ribbon under your bottom lip.
Add Braids
- Gather your materials, including the yarn for braids.
- Decide on the style of braids you want: fishtail or regular.
- Use 10 pieces of yarn for fishtail braids and 6 for regular braids.
- Knot the top of the braid, then braid the yarn.
- Count out from the middle of the beard to place the braids, tying them to the beard at those spots.
- Embellish your beard with beads or feathers to make it look like Gandalf the White’s wizard beard, a dwarf beard, or a lion’s mane.
- Remember, the key to a great beard is in the braid placement and style. Happy crafting!
Finishing Touches
To finish off your quirky yarn beard, there are a few more steps to follow. First, bunch your yarns and knot the open ends of the ribbon. This will help to secure the beard and keep it in place. Next, trim the beard ends to your desired length. You can also add embellishments such as beads or feathers for a more personalized look.
Once you’ve finished filling out the beard, tie it on the back of your head and place the lower ribbon under your bottom lip. For a more dramatic effect, you can tie a braid to the side of your beard using a yarn.
If you’re looking for more costume ideas, you can also create a braided base for your beard using three pieces of yarn and braid them together. This will give your beard a more structured look. Remember to take more photos of your beard to show off your creativity!
| Step | Instruction | Example |
|---|---|---|
| 1 | Bunch yarns and knot open ends of ribbon | Secure the beard in place |
| 2 | Trim beard ends to desired length | Customize the beard length |
| 3 | Add embellishments such as beads or feathers | Personalize the beard |
| 4 | Tie beard on back of head | Secure the beard in place |
| 5 | Place lower ribbon under bottom lip | Complete the beard look |
| 6 | Tie braid to side of beard | Add a dramatic effect |
| 7 | Create a braided base for the beard | Structure the beard |
| 8 | Take more photos of the beard | Show off your creativity |
Frequently Asked Questions (FAQs)
How do I attach the beard to my head?
Tie the beard’s top ribbon around your head like a headband, allowing the beard to dangle freely. Secure it with a few discreet stitches if needed. This hands-free approach lets you focus on your performance!
Can I use different colors of yarn for the beard?
You can easily mix and match yarn colors to suit your style. From bold rainbow hues to subtle, natural tones – the possibilities are endless. Get creative and craft the perfect personalized beard!
How long should I make the beard?
For an alluring appearance, unleash your imagination! The length is at your discretion – imagine the ideal fit that expresses your distinct style and individuality. The possibilities are endless when it comes to designing a striking beard.
Can I add embellishments to the beard?
You can really jazz up your homemade yarn beard with all sorts of fun embellishments. Go wild with beads, sequins, glitter, or even feathers to make it truly unique and eye-catching.
How do I make the beard look fuller?
Scrunch those knots nice and tight, my friend! The tighter you tie ’em, the fuller that yarn beard will be. Give it a good scrunching to really make it bushy and bold. Now you’re talking!
Conclusion
You’ve now crafted a whimsical yarn beard that’s sure to turn heads. Feel free to experiment with different yarn colors, braid styles, and lengths to create a one-of-a-kind look that’s uniquely you.
Whether you’re dressing up for a costume party or simply want to add a touch of playfulness to your day, this DIY yarn beard is the perfect accessory to showcase your creative flair.
Embrace your inner craftsperson and have fun bringing your fake beard to life!


