This site is supported by our readers. We may earn a commission, at no cost to you, if you purchase through links.
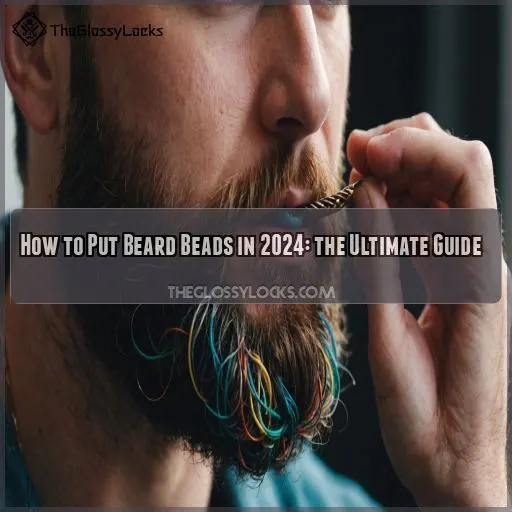 Putting in beard beads is a breeze once you know the ropes.
First, make sure your beard is clean, conditioned, and tangle-free.
Then, grab your favorite beads – the right size for your beard thickness and length.
Use a bead applicator or pliers to secure them firmly, adjusting the tightness as needed.
A dab of bead-friendly adhesive helps keep those babies in place.
Experiment with patterns, spacing, and placement to find your signature style.
Remember to clean and condition the beads regularly to keep them looking sharp.
Nail this, and you’ll have the most head-turning beard in town!
Table Of Contents
Key Takeaways
- Get your beard prepped and ready by giving it a good clean and conditioning – you want that facial fuzz in tip-top shape before adding any bling.
- Choose the right size beads for your beard thickness and length, taking into account that a wide-tooth comb can help detangle even the thickest of beards with its wide tooth spacing, think Goldilocks here, not too big, not too small, but just right.
- Use a special bead applicator or pliers to securely attach those beads, and don’t be afraid to play around with placement to find your perfect look.
- Keep your beaded beard looking fresh by regularly cleaning and conditioning the beads – you want that bling to stay bright and vibrant.
Selecting the Right Beard Beads
Before you start adorning your beard with stylish beads, it’s important to understand the different bead styles, sizes, and materials available.
Choosing the right beard beads can elevate your look and express your personal flair, so let’s take a closer look at the options.
Understanding Beard Bead Styles
Understanding the diverse styles of beard beads is key to selecting the perfect accessories for your facial hair, like those found in the beard bead styles section.
From bold, eye-catching patterns to subtle, minimalist designs, the options are endless.
Consider your personal style, face shape, and beard length to choose beads that complement your unique look.
Experiment with different colors, shapes, and placements to find the perfect match.
Choosing the Appropriate Bead Size
When choosing the right beard bead size, it’s all about finding the perfect fit for your unique facial fuzz.
Think of it like Goldilocks – not too big, not too small, but just right!
Use this handy table to determine the ideal bead diameter based on your beard thickness, length, and the number of beads you want to rock.
| Beard Thickness | Bead Diameter | Bead Count | Beard Length |
|---|---|---|---|
| Fine | 4-6 mm | 3-7 | 1-4 inches |
| Medium | 6-8 mm | 5-10 | 4-8 inches |
| Coarse | 8-10 mm | 7-12 | 8-12 inches |
Considering Bead Materials and Finishes
When selecting beard beads, consider the material and finish.
Opt for durable options like metal or hardwood for long-lasting wear.
Explore a variety of colors to match your personal style – from understated neutrals to bold, vibrant hues.
The bead material and finish can also impact the overall look and weight of your beaded beard.
Preparing Your Beard for Bead Placement
Before you can start decking out your beard with stylish beads, you’ll need to prepare your facial fuzz.
First, give your beard a thorough cleansing and conditioning to create the perfect canvas.
Then, section it off into manageable parts to make bead placement a breeze.
With a little prep work, your beard will be ready to shine in no time.
Cleaning and Conditioning the Beard
Before adorning your beard with beads, it’s important to clean and condition it properly.
Start by using a high-quality beard wash to remove any dirt, oil, or residue.
Follow up with a nourishing beard oil to keep your facial hair soft, supple, and manageable.
Don’t forget to comb through with a wide-tooth comb for an even, tangle-free finish.
Sectioning the Beard for Bead Placement
Before placing your beard beads, take the time to properly section your facial hair.
This will help you get an even distribution and a polished look.
Start by dividing your beard into three distinct sections:
- The cheek line
- The chin and jawline
- The mustache area
Carefully comb through each section, separating the hairs to create a clean, uniform base for your beard beads.
Attaching the Beard Beads
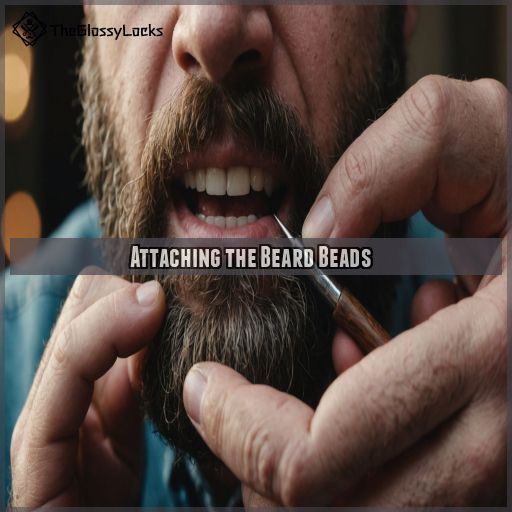
Attaching beard beads is a straightforward process that can add a unique flair to your facial hair.
You can choose between a bead applicator or pliers to secure the beads firmly.
Adjusting their placement will ensure a stylish and long-lasting look.
Using a Bead Applicator or Pliers
When attaching the beads, you can use a specialized bead applicator or pliers.
The applicator makes the process quick and easy, gently guiding each bead onto your facial hair.
If you prefer the precision of pliers, grip the bead firmly but carefully to avoid tugging or damaging the beard.
Whichever tool you choose, work slowly and gently for the best results.
Securing the Beads in Place
Now that you’ve placed the beads on your beard, it’s time to make sure they stay put.
Here are 3 tips for securing the beads:
- Adjust the bead tightness to match your beard thickness – too loose and they’ll slip, too tight and you’ll feel discomfort.
- Use a tiny dab of bead-friendly adhesive to create a lasting knot security.
- Gently tug on each bead to check for slippage – if any feel loose, simply tighten or reattach them.
Adjusting the Bead Placement
Once you’ve secured the beads in your beard, you can start adjusting their placement.
Play around with symmetry, spacing variations, and positioning based on your beard length.
Use specialized tools like bead applicators or pliers to help reposition the beads until you achieve your desired look.
Have fun experimenting!
Bead Placement Tips
| Symmetry | Spacing Variants | Beard Length |
|---|---|---|
| Balanced layout |
Tight vs. Loose
Maintaining and Caring for Beard Beads
Keeping your beard beads looking their best doesn’t have to be a hassle.
Regular cleaning and maintenance are key to rocking that beaded beard like a pro.
Proper Cleaning and Maintenance
How often should you clean your beard beads? Proper maintenance is key for keeping them looking fresh and vibrant.
Dedicated beard bead cleaning solution and a soft-bristle brush are your best friends for gently scrubbing away any buildup.
Afterwards, condition the beads with a touch of beard oil to preserve their shine.
With a little TLC, your beaded beauty will stay on point.
Removing and Repositioning Beads
Removing and repositioning your beard beads doesn’t have to be a difficult task.
Utilize specialized bead removal tools to gently detach the beads, taking care not to damage your precious facial hair.
Once removed, you can reposition the beads for a fresh, customized look that complements your beard style.
With a little patience and the right techniques, you’ll have your beaded beard looking its best.
Styling and Showcasing Your Beaded Beard
Styling your bearded look with eye-catching beads can be a true statement of personal flair.
Experiment with various bead placements and patterns to complement your unique facial hair style.
Incorporate your beaded look seamlessly into your overall aesthetic.
Experimenting With Different Bead Placements
Once you’ve mastered the basics, feel free to experiment with different bead placement patterns.
Play around with positioning the beads symmetrically or asymmetrically, clustering them together, or spacing them out.
Longer beards offer more real estate to get creative.
Don’t be afraid to mix and match bead colors and materials for a unique, personalized look.
Complementing Your Beard Style
Once you’ve got your beard beads in, consider how they can complement your existing beard style.
Think about your face shape and how different bead placements can accentuate your features.
Play around with colors that harmonize with your hair and skin tone for a cohesive, stylish look.
The key is finding the right balance between your beard and the beads.
Incorporating Beard Beads Into Your Overall Look
Incorporating beard beads seamlessly into your overall look is an art form. Your beaded beard can be a stunning centerpiece that elevates your entire ensemble. Consider these tips:
- Experiment with bead placements to complement your facial features and personal style.
- Coordinate bead colors and materials with your clothing, accessories, and grooming products.
- Embrace the cultural significance of beard beads and let them reflect your unique identity.
- Maintain your beaded beard’s luster with proper care so it remains a bold statement piece.
Frequently Asked Questions (FAQs)
How long should beard be before adding beads?
Your beard should be at least 2-3 inches long before adding beads.
This length provides enough hair for the beads to grip securely and won’t weigh down your facial fuzz.
Go with what feels right for your look and lifestyle.
Can beard beads damage hair follicles?
Ah, the age-old question of whether beard beads can do a number on your luscious follicles.
Fear not, my hirsute friend!
With the right technique, you can adorn your face forest without fear of follicular fiasco.
Can I reuse my beard beads?
You can reuse your beard beads!
Just make sure to clean them thoroughly between uses.
This will keep your facial hair healthy and prevent any irritation.
With a little care, those beads can last for ages.
Are there any safety concerns with beard beads?
Safety is key when it comes to beard beads.
Make sure they’re secure to avoid them falling out.
Look for beads without sharp edges to prevent skin irritation.
Keep an eye out for any signs of skin irritation.
With a little care, you can rock those beads with confidence!
How often should I clean my beaded beard?
To keep your beaded beard looking fresh, you should clean it every 2-3 weeks.
This will help prevent buildup.
Use a mild shampoo and gently scrub the beads.
Then condition to keep your facial hair soft and manageable.
Conclusion
Beard beads are a trendy way to add a touch of personality to your beard.
Whether you prefer sleek silver, shimmering gold, or an eclectic mix, the perfect placement of these accents will turn heads.
Learn how to seamlessly incorporate beard beads in 2024 for a truly remarkable, head-turning style.

