This site is supported by our readers. We may earn a commission, at no cost to you, if you purchase through links.
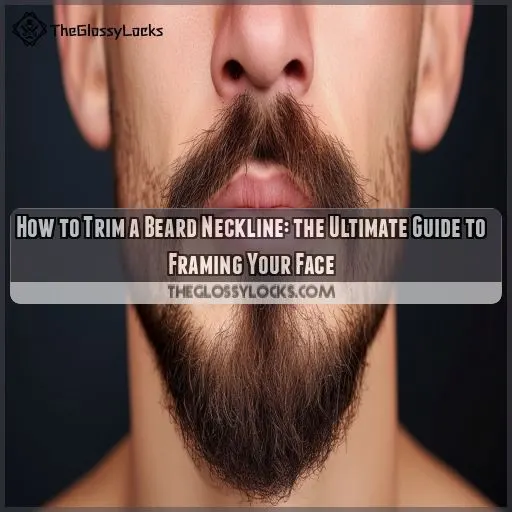 Guys, listen up.
Today, we’re tackling the often-overlooked art of trimming your beard neckline.
It’s time to say goodbye to the neckbeard and embrace a well-groomed, sophisticated look.
Defining your neckline is important for a sharp, clean appearance, and we’re here to help you get it right.
Table Of Contents
- Key Takeaways
- How to Trim Neckline Beard?
- Finding Your Neckline
- Identifying Your Perfect Neckline
- Determine Your Neckline Shape
- Trimming the Neckline
- Tools for Trimming
- Styling Your Beard
- Growing a Long Beard
- Defining the Outer Edge
- Maintaining Beard Neckline
- Final Touches
- Frequently Asked Questions (FAQs)
- Where should my beard neckline be?
- What is the rule for beard neckline?
- Should you trim neckline with stubble?
- How do you style a neck beard?
- How often should I trim my beard neckline?
- What if I want to trim my beard but keep it long?
- Can I use a razor to trim my beard neckline?
- How do I avoid an itchy neck after trimming?
- Whats the best way to clean up stray hairs?
- Conclusion
Key Takeaways
- Finding your neckline is easy: imagine a line from ear to ear, curving slightly upwards and crossing right above your Adam’s apple. This is your guide to a sharp, well-defined beard.
- The perfect neckline varies with your face shape and desired style. For a stubble look, keep it neat and subtle, while a longer beard means you can go wilder or opt for a more defined, polished neckline.
- Trimming the neckline? Start in the middle, above your Adam’s apple, and work outwards. Take your time, go slowly, and use a hand mirror to check your side profile and make adjustments.
- To keep your neckline looking sharp, trim it every two to three weeks, avoid over-trimming, and maintain consistency with your overall beard style. Regular grooming and professional advice are also key.
How to Trim Neckline Beard?
Start by preparing your tools. You’ll need a beard trimmer, a comb, and some patience.
Identify where your neckline is. A good rule of thumb is to place two fingers above your Adam’s apple. That’s where your neckline should be.
Use your comb to section off the area below your neckline. Hold the comb flat against your skin, and use your trimmer to buzz away any stray hairs.
Use the trimmer without the comb attachment to tidy up any stray hairs or uneven spots.
Remember to take your time and be gentle. It’s better to take small, gentle passes than to risk cutting yourself.
Finding Your Neckline
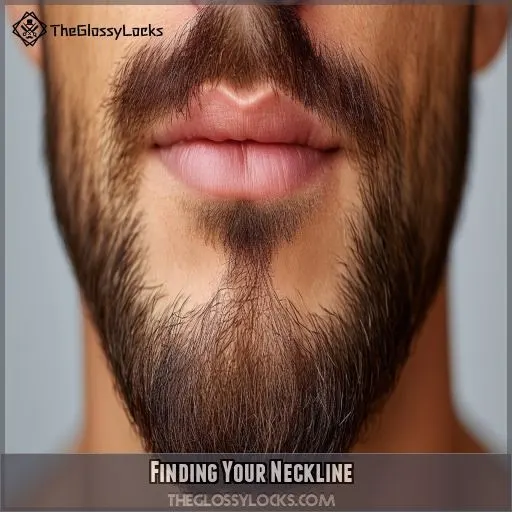
Finding your beard’s neckline is a key step in getting a sharp, well-defined look.
The neckline is where your beard meets your neck, and it’s important to get it right. Usually, it sits right above your Adam’s apple, where your jawline meets your neck.
Imagine a line from ear to ear, curving slightly upwards, and crossing right above your Adam’s apple. This natural line is your guide for trimming and shaping your beard neckline.
It’s important to tell the difference between the neckline and the jawline to avoid accidentally making a chin strap.
Identifying Your Perfect Neckline
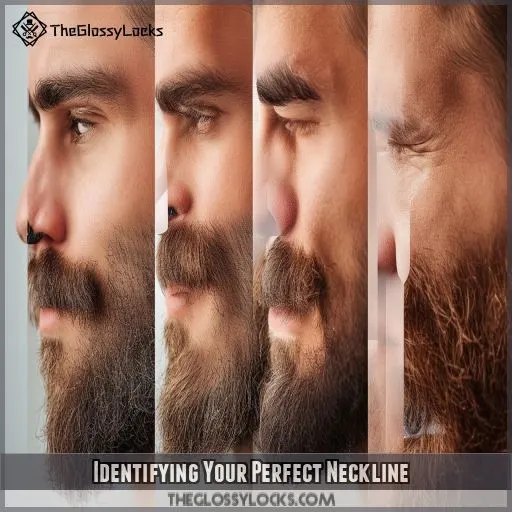
To find the right beard neckline, you need to think about the style you want and how your face is shaped. Here’s how to figure it out:
Tilt your head back a bit, so you can see under your chin. Put two fingers horizontally above your Adam’s apple and imagine a "U" shape connecting both earlobes, with the lowest point just above your Adam’s apple. This is where your neckline should be.
Now, let’s talk about different beard lengths:
- Stubble Neckline: For a stubble look, keep your neckline clean and subtle, extending slightly below the jawline. It’s all about keeping it neat.
- Medium-Length Beard Neckline: When your beard starts to get longer, use a trimmer to define the lower neckline. This helps you look polished.
- Long Beard Neckline: With a long beard, you can let it grow wild. The neckline becomes less noticeable, and you can go for a more natural look. But if you want a more defined look, keep reading to learn about shaping your neckline.
Determine Your Neckline Shape
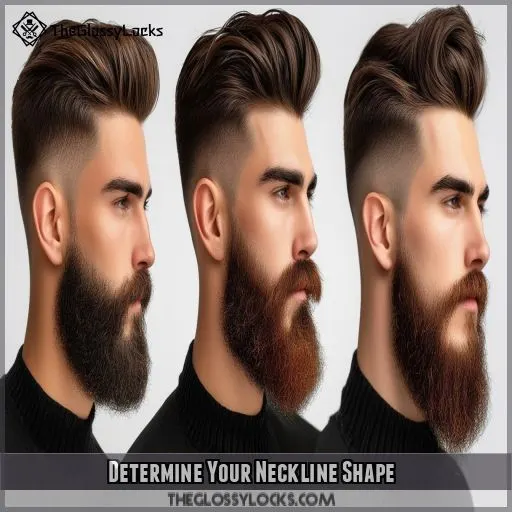
Now that you’ve identified your perfect beard neckline, it’s time to determine its shape.
This is really important for achieving a well-groomed and stylish beard. The shape of your neckline can enhance your jawline definition and overall facial structure.
It’s like choosing the right frame for a picture; you want to highlight your best features.
A properly shaped neckline will give your beard a polished look and make it appear more defined and full.
It’s all about creating a clean, crisp edge that complements your face.
Think of it as the foundation for your beard style.
Trimming the Neckline
Now that you’ve found your neckline, it’s time to start trimming. Begin in the middle, just above your Adam’s apple, and work your way outwards along the natural curve of your neckline. Use a hand mirror to check your side profile and make adjustments as needed.
Start in the Middle
Now that you’ve determined your neckline shape, it’s time to start trimming.
Begin in the middle, right above your Adam’s apple.
Using your beard trimmer without a guard, carefully shave a line across your neck, starting from the middle and working out to the sides.
This is a key step in achieving a well-defined beard neckline.
Remember to take your time and go slowly to avoid any mistakes.
Work Outwards
Now that you’ve started in the middle, it’s time to work outwards.
Go slowly and carefully along your natural neckline, which curves slightly upwards.
You don’t want to rush this part and risk messing up your hard work.
Take your time and be precise with your angles.
This is a key step in beard neckline maintenance and will help you achieve a clean, well-defined look.
Use Hand Mirror
Now that you’ve worked outwards, it’s time to check your handiwork with a hand mirror.
This handy tool lets you see your side profile and check your beard’s neckline.
Adjust your angles to see your beard from different perspectives and make any necessary tweaks to achieve a symmetrical look.
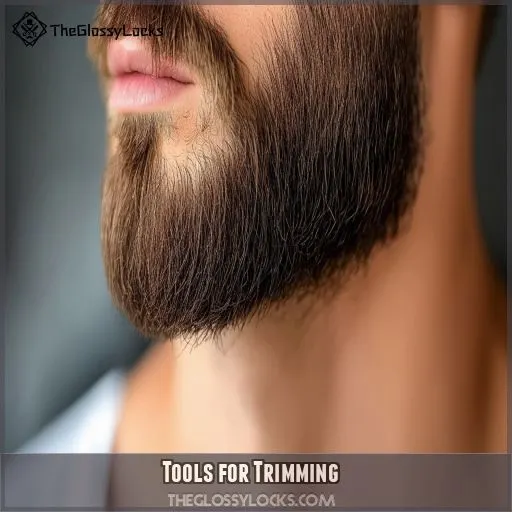
Tools for Trimming
Now that you’ve mastered the art of trimming your neckline, it’s time to talk about the tools you’ll need to get the job done right. Here’s a list of the essential trimming tools you should have in your arsenal:
- Beard Trimmer: This is your main weapon in the battle against unruly beard hair. Go for a quality trimmer with adjustable settings to give you precise control over your trim.
- Beard Shaper Tool: A beard shaper tool is a game-changer for achieving those perfect lines and symmetrical curves. It guides your trimmer along the desired path, ensuring a consistent trim on both sides.
- Comb: A good comb is essential for detangling your beard and preventing snagging. It also helps you style your beard and guide your trimmer for a precise trim.
- Mirrors: A bathroom mirror is important for a clear view of your neckline. But don’t forget the hand mirror! It’s your secret weapon for checking your side profile and making fine adjustments.
- Scissors: While your trimmer does the heavy lifting, a pair of sharp scissors comes in handy for those delicate finishing touches and fine-tuning your beard masterpiece.
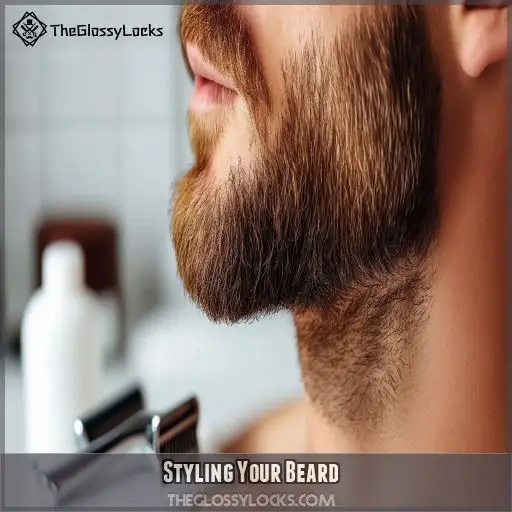
Styling Your Beard
Now that you’ve gathered your tools, it’s time to style your beard like a pro. Before you start trimming, it’s important to comb your beard upwards and then downwards. This simple step makes sure that your beard hairs are evenly distributed, making it easier to achieve an accurate trim.
Don’t forget to style your beard before trimming. This might seem counterintuitive, but it’s a key step to make sure you get a consistent and even neckline. By styling first, you can clearly see the shape of your beard and define the neckline that complements your face.
A well-styled beard enhances your overall appearance and makes your neckline pop. It’s the difference between a messy, unkempt look and a clean, polished style that turns heads. Take the time to style your beard, and you’ll be rewarded with a sharp aesthetic that showcases your unique personality and taste.
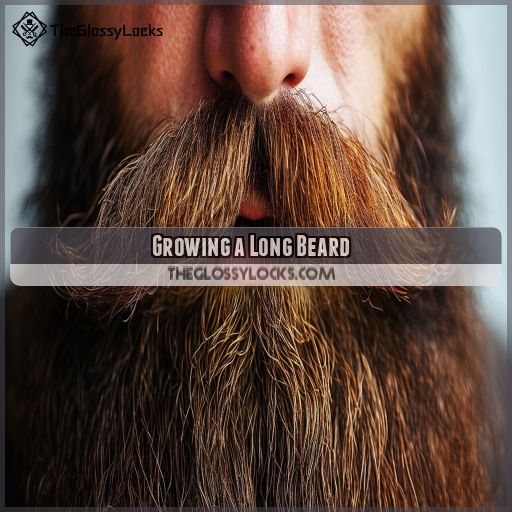
Growing a Long Beard
If you’re going for a long beard, trimming your neckline becomes less important. The added length provides natural coverage, giving your beard a fuller, more untamed look. It’s all about personal preference—you might decide to let it grow wild and free, embracing the journey to a majestic beard.
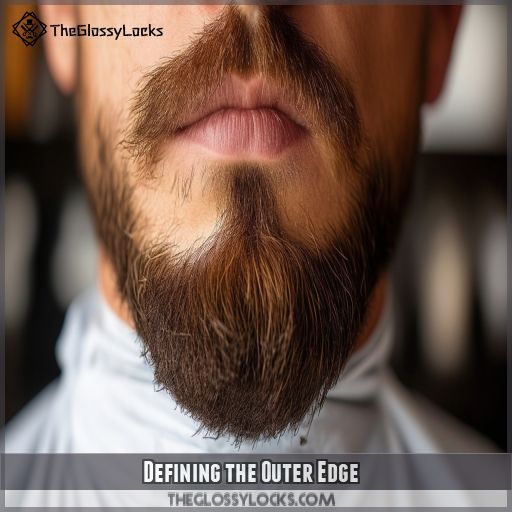
Defining the Outer Edge
Now that you’ve grown a long beard, it’s time to define the outer edge of your neckline to create a sharp and symmetrical look.
To achieve a more angular and masculine style, trim a vertical line down from your ear, keeping it as straight as possible, until it intersects with the previously trimmed horizontal line above your Adam’s apple. This will create clean, sharp angles.
On the other hand, if you prefer a more relaxed and rounded appearance, opt for a softer approach. Create a rounded border where the horizontal neckline seamlessly merges with the hair on your face. Think of it as adding a subtle curve to your overall beard shape.
With these simple techniques, you can easily define the outer edge of your beard neckline, enhancing the overall sharpness and symmetry of your facial hair.
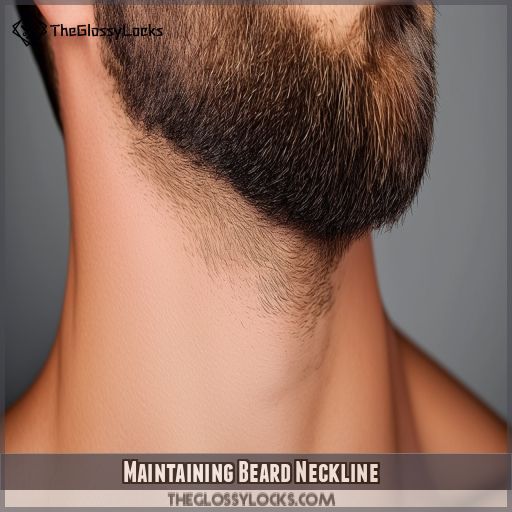
Maintaining Beard Neckline
A sharp beard neckline is key for a polished look. Once you’ve found the perfect neckline, it’s important to keep it looking sharp. Here’s how:
- Frequency of Trimming: How often you need to trim depends on how fast your neck hair grows and how you want your neckline to look. Usually, you’ll need to trim your neckline every two to three weeks to keep it looking clean and defined.
- Avoid Over-Trimming: Be careful not to trim your neckline too short. It’s a sensitive area, and over-trimming can make it look unnatural. Take your time and trim slowly and carefully.
- Maintain Consistency: Keep the length of your neckline in line with your overall beard style. A consistent neckline makes your beard look more symmetrical and balanced, giving you a polished look.
- Grooming: Regular grooming is a must. Make sure you include neckline maintenance in your beard care routine. Keep your neckline neat and tidy, making sure no stray hairs mess up the clean lines you’ve created.
- Seek Professional Advice: If you’re not sure how to trim your neckline, consider talking to a professional barber. They can give you advice on how to shape and maintain your neckline to complement your beard style.
Final Touches
You’re almost done! Now it’s time to put the finishing touches on your freshly trimmed beard neckline. Here are a few simple steps to make sure you have a clean, sharp look:
- Check for stray hairs: Use your trimmer to buzz off any stray hairs that may be lingering on the sides or front of your neck.
- Clean up: Wipe away all loose hairs from your face, neck, and chest. A clean canvas is essential for a polished look.
- Soothe and style: Apply a liquid aftershave to calm any irritation and enhance the definition of your neckline. Now, you can shape and style your beard to perfection.
With these final touches, you’ll be able to showcase your well-groomed beard with confidence, knowing that you’ve nailed the details.
Frequently Asked Questions (FAQs)
Where should my beard neckline be?
Your beard neckline should be just above your Adam’s apple, one to two finger widths below your jawline. If your beard is short, you can take your neckline higher. If it’s long, let it grow lower down your neck.
What is the rule for beard neckline?
The "two-finger rule" is the easiest way to find your perfect beard neckline. Place two fingers on your Adam’s apple; the top of your index finger is where your neckline should be. Adjust up or down an inch as you see fit.
Should you trim neckline with stubble?
Yes, you should trim your neckline with stubble. A neckline that’s unkempt and without a boundary looks dirty and weird. If left untended, it can ruin your dream of a cool stubble beard.
How do you style a neck beard?
It’s your neck, your rules. But, if you want to style your neck beard like a pro, there are a few ways to go about it. You could try the scruffy and short look, the long neck beard with a wave, or even a neck beard with a mustache.
How often should I trim my beard neckline?
The frequency of trimming depends on your neck size and hair growth speed. As a rule, trim when hair length reaches 3mm or longer. You should get into the habit of regularly trimming your beard neckline.
What if I want to trim my beard but keep it long?
If you want to keep your beard long, it’s still important to trim the sides so it doesn’t get longer than the hair on your head. Focus on the front of your neckline, getting rid of any straggly hairs. Use a comb to guide your trimming.
Can I use a razor to trim my beard neckline?
Yes, you can use a razor to trim your beard neckline. It’s best to use a sharp, new razor blade to get close to the skin without causing irritation. Electric foil razors can also help you achieve a close shave with less chance of razor bumps or ingrown hairs.
How do I avoid an itchy neck after trimming?
To avoid an itchy neck, finish with a liquid aftershave, patting it on gently. Before trimming, use a gentle cleanser to lift ingrown hairs and reduce the risk of a rash. You could also try an electric foil razor to prevent bumps and ingrown hairs.
Whats the best way to clean up stray hairs?
To clean up stray hairs, use a razor to shave your neck clean. You can also use an electric trimmer to buzz off stray hairs. Finish by wiping away all hairs from your face, neck, and chest.
Conclusion
A well-defined beard neckline is the key to a sharp, polished look. We’ve walked you through the entire process, from finding and shaping your neckline to maintaining a clean, crisp edge. Now you know how to trim your beard neckline like a pro, achieving a sophisticated and stylish look. So, go forth, and bid farewell to the neckbeard!

