This site is supported by our readers. We may earn a commission, at no cost to you, if you purchase through links.
 Trimming your neckline for a short beard is a delicate dance, but with the right moves, you’ll be a pro in no time!
To start, gather your essential tools: a quality trimmer, comb, and mirrors.
Set aside dedicated time for uninterrupted trimming (no distractions, please!).
Begin at the middle of your neckline, just above the Adam’s apple, and work your way down, following the natural curves.
Use your trimmer and precision blade to clean up stray hairs and define the edge.
Table Of Contents
- Key Takeaways
- Trimming Essentials for Short Beards
- Mastering the Neckline Trimming Technique
- Choosing the Right Trimming Tools
- Trimming Tips for a Polished Look
- Understanding Your Hair Growth Patterns
- Shaping and Maintaining Your Neckline
- Avoiding Common Trimming Mistakes
- Trimming for Specific Beard Styles
- Regular Trimming for a Professional Look
- Customizing Your Neckline Trim
- Frequently Asked Questions (FAQs)
- Where do you trim your neckline short beard?
- How to trim neckline stubble?
- What is the rule for beard neckline?
- How do you trim a short beard for a jawline?
- How often should I trim my short beard neckline?
- Can I use clippers to trim my neckline?
- How do I prevent ingrown hairs on my neckline?
- Should I trim my neckline when growing a full beard?
- How do I choose the right neckline shape for my face?
- Conclusion
Key Takeaways
- You’ll want to start by gathering your essential tools: a quality trimmer, comb, and mirrors – don’t worry, it’s not as scary as it sounds! With these in hand, you’ll be well on your way to mastering the delicate dance of trimming your neckline for a short beard.
- To achieve a natural look, you’ll need to identify your natural neckline by placing two fingers horizontally above your Adam’s apple and imagining a ‘U’ shape connecting your earlobes – it’s like finding the perfect frame for your face!
- When it comes to trimming, remember to start in the middle and work your way down, following the natural curves of your jawline, and use a precision blade to clean up stray hairs and define the edge – think of it as the icing on the cake for your freshly trimmed neckline!
- To maintain a clean and defined look, you’ll want to trim your short beard neckline regularly, ideally every 1-2 weeks – don’t worry, it’s not as high maintenance as it sounds, and the results will be well worth it!
Trimming Essentials for Short Beards
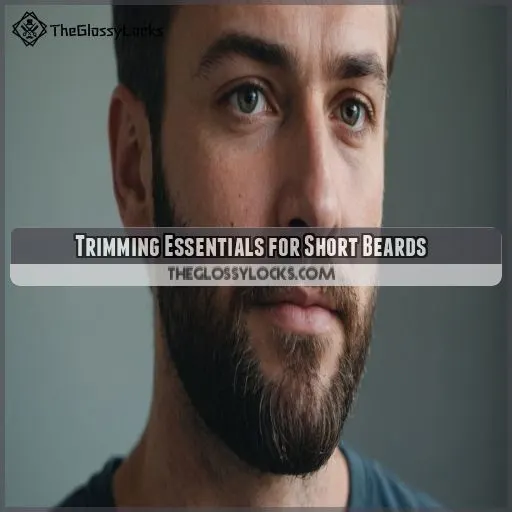
Trimming your short beard can seem intimidating, but with the right tools and techniques, you’ll be a pro in no time. To get started, you’ll need a quality beard trimmer, a comb, a bathroom mirror, a hand mirror, and scissors – don’t worry, we’ll walk you through how to use them like a pro!
Must-Have Tools for Neckline Trimming
In the matter of mastering the art of neckline trimming, having the right tools is essential. You can’t build a house without a solid foundation, and you can’t trim your neckline without the right gear. Here are the must-haves:
- A quality beard trimmer, like an electric trimmer with adjustable heads
- A trusty trimming comb to guide your strokes
- A precision razor for cleaning up stray hairs and defining edges
Styling Before Trimming for Accurate Results
You’re about to tap into your inner barber! Before trimming, style your beard to get all hairs in place. Grab your favorite comb and tame that mane. Here’s a quick guide to help:
| Beard Prep Tips | Pre-Trim Styling | Comb Selection |
|---|---|---|
| Use a wide-tooth comb | Style against grain | Choose a fine-tooth comb |
| Detangle with care | Use a beard brush | Select a rat-tail comb |
| Apply a beard serum | Style with a beard pick | Use a detangling spray |
| Tame flyaways | Style with fingers | Choose a hair tamer tool |
Now you’re ready to trim like a pro!
Identifying the Perfect Neckline for Your Beard
Now that you’ve styled your beard, it’s time to identify the perfect neckline. Think of it as framing a work of art – your face! To get it right, consider these three key factors:
- Beard Length Options: How long do you want your beard to be? This will impact your neckline definition.
- Neckline Definition Techniques: Do you want a defined edge or a softer, more natural look?
- Facial Structure Alignment: Where does your Adam’s apple sit in relation to your jawline?
Mastering the Neckline Trimming Technique
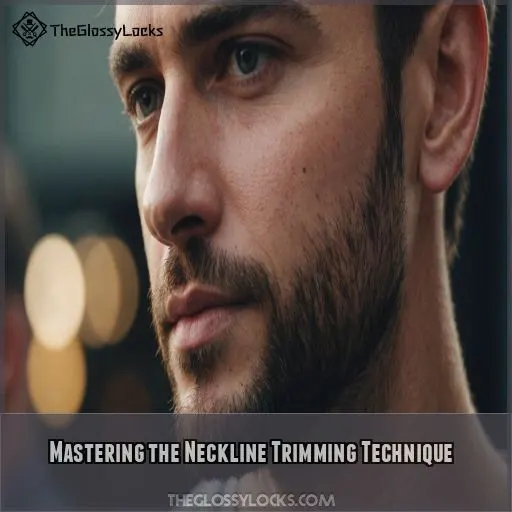
You’re about to master the art of neckline trimming for your short beard – get ready to achieve a more defined, polished look! To accomplish this, setting aside dedicated time for uninterrupted trimming is vital, start in the middle for a natural look, and use mirrors to precision-trim your way to a flawless finish.
Setting Aside Time for Uninterrupted Trimming
Get ready to tame that beard! Set aside a solid 15-minute block for uninterrupted trimming – your patience will pay off. A dedicated trimming session lets you focus on those precise cuts, ensuring a tidy beard with clean lines. Manage your time wisely and schedule regular trims to maintain that fresh, groomed look.
Starting in the Middle for a Natural Look
Now that you’ve set aside dedicated time for trimming, let’s get started! Begin by placing your trimmer in the middle of your neckline, just above the Adam’s apple. This center-start approach helps you get a symmetrical neckline and helps you avoid bumps. For a natural look, follow these steps:
- Place your trimmer at the midpoint of your neckline
- Gently trim downwards, following your natural curves
- Check for evenness as you go
- Make adjustments to maintain a smooth, seamless line
Using Mirrors for a Precise Trim
Now that you’ve started in the middle, it’s time to get a little reflective – literally! Use both a bathroom mirror and a hand mirror to see the side beard profile and adjust the line as needed. Here’s a mirror setup guide:
| Mirror Placement | Hand Mirror Technique |
|---|---|
| Bathroom mirror in front | Hold hand mirror at a 45° angle |
| Hand mirror on the side | Tilt head to see neckline shape |
| Bathroom mirror above | Use hand mirror to inspect edges |
| Hand mirror below | Check for stray hairs and unevenness |
This multiple mirror setup will help you achieve a precise trim and master the art of mirror-assisted shaping for your short beard.
Choosing the Right Trimming Tools
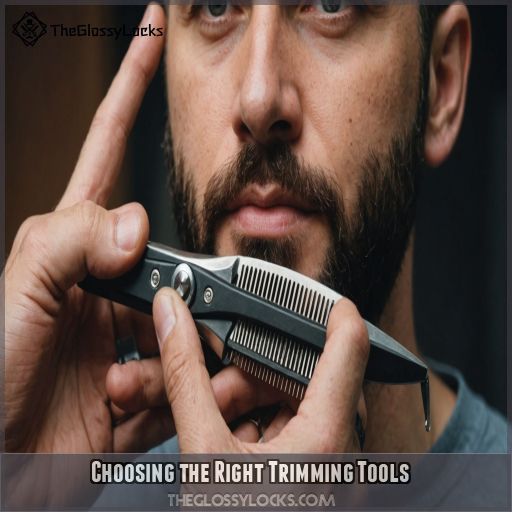
Now that you’ve mastered the neckline trimming technique, it’s time to choose the right tools for the job – and trust us, the right tools make all the difference. You’ll need a reliable electric trimmer for general beard maintenance, a short cutting trimmer for a defined neckline, and a precision blade for cleaning up those pesky loose hairs.
Electric Trimmers for General Beard Maintenance
You’re ready to tame that short beard! An electric trimmer is your best friend for general beard maintenance. Look for a trimmer with adjustable blade types (e.g., stainless steel or titanium) and a range of up to 12mm. Popular brands include Wahl, Panasonic, and Remington. Regularly clean and oil your trimmer to keep it running smoothly.
Short Cutting Trimmers for a Defined Neckline
Now that you’ve got your electric trimmer for general beard maintenance, it’s time to bring out the big guns for a defined neckline – short cutting trimmers!
You’ll want to look for trimmers that cut as short as 0.5mm or lower, like the Phillips One Blade.
This will help you achieve a seamless blend from your beard to your skin, giving you a sharp, polished look.
Precision Blades for Cleaning Up Loose Hairs
The precision blade – your secret weapon for a polished neckline. If you’re looking to clean up loose hairs, you’ve got options:
- Razor-sharp precision: Use a razor for an ultra-close shave, but beware of ingrown hairs.
- Trimmer precision: Opt for a trimmer with a precision blade for a safer, more controlled cut.
- Blade maintenance 101: Keep your blade sharp and clean to avoid pulling or tugging on hairs.
Trimming Tips for a Polished Look
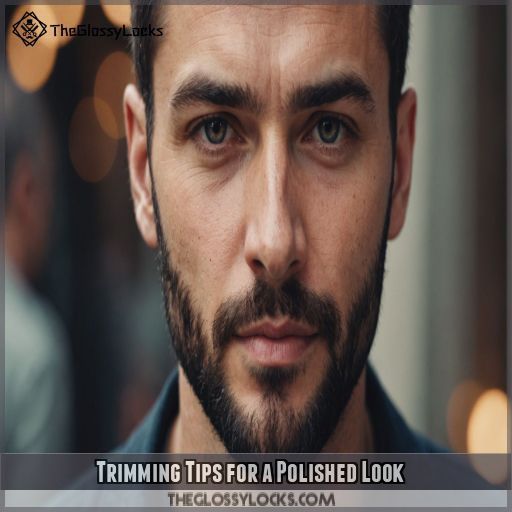
As you tackle the art of trimming your short beard’s neckline, remember that a polished look is all about the details – and it starts with mastering the right techniques. By shaving with the grain, trimming against it, and being gentle on your skin, you’ll be well on your way to a sleek, professional-looking beard that turns heads.
Shaving With the Grain for Comfort
The art of shaving with the grain! To avoid ingrown hairs, razor burn, and skin irritation, always shave in the direction of hair growth. Prep your skin with shaving cream and a warm towel, then glide that razor smoothly along the grain. Finish with a soothing beard oil to keep your short beard and neckline looking sharp.
Trimming Against the Grain for Easy Cutting
Trimming against the grain is a game-changer for easy cutting.
Using an electric trimmer, gently trim in the opposite direction of your hair growth.
This helps stand the hairs up, making them easier to snip.
Just be cautious not to press too hard, as this can cause irritation.
Mastering this technique will give you a polished, pro-level trim.
Avoiding Excessive Pressure for Smooth Skin
When trimming your short beard, remember to avoid excessive pressure for smooth skin.
Applying too much pressure can cause skin irritation, ingrown hairs, and razor burn.
Instead, let the trimmer glide effortlessly across your skin.
A comfortable shave is key to a polished look.
As a grooming expert would advise, gentle strokes will keep your neck razor-sharp without the nasty side effects.
Understanding Your Hair Growth Patterns
As you get ready to trim your neckline, you need to understand your hair growth patterns to achieve a natural look. By recognizing how your hair grows, you can adapt your trimming techniques to work with your hair, not against it, and maintain a polished, professional appearance.
Recognizing Individual Patterns for a Natural Look
As you master the art of trimming your short beard, it’s important to recognize your individual hair growth patterns. Take note of the direction your hair grows – does it sprout upwards, downwards, or sideways? Understanding this will help you tailor your trimming technique to achieve a natural look that complements your unique beard shape and skin sensitivity.
Adapting Trimming Techniques to Hair Growth
As you master the art of trimming, remember that your hair growth patterns are unique, like a fingerprint. To achieve a seamless look, adjust your trimming techniques to your individual growth patterns.
- Keep an eye on your beard’s shape and adjust your neckline definition accordingly
- Increase or decrease trimming frequency based on your hair’s growth rate
- Experiment with different tool adjustments for varying hair lengths
- Balance your facial hair with your face shape (thin, long, or round)
- Get familiar with your hair’s texture and trim accordingly
Shaping and Maintaining Your Neckline
You’re getting close to achieving that perfectly trimmed neckline – now it’s time to shape and maintain it.
To do this, you’ll need to:
- Identify the natural neckline for your face shape.
- Create a stubble neckline for a seamless blend.
- Define the neckline for medium-length beards.
All while avoiding those pesky trimming mistakes that can make your beard look uneven or unkempt (Source).
Identifying the Natural Neckline for Your Face Shape
The million-dollar question: where’s your natural neckline? To find it, tilt your head back, place two fingers horizontally above your Adam’s apple, and imagine a "U" shape connecting both earlobes. Consider your face shape and beard length when choosing from various neckline styles. Visual guides can help, but remember, your jawline’s impact is key to pulling off a short beard.
Creating a Stubble Neckline for a Seamless Transition
Now that you’ve identified your natural neckline, let’s create a stubble neckline that blends seamlessly into your beard. For a square face, try a softer beard fade to avoid harsh lines. Use blending techniques to merge the neckline shape with your beard, preventing ingrown hairs. Think of it like Jason Biggs’ signature look, minus the awkward phases.
Defining the Neckline for Medium Length Beards
For medium-length beards, defining the neckline is all about creating a smooth shift.
Use a close trimming head to establish the lower line.
Then, blend it with a razor for a natural look.
To avoid harsh lines, fade the edges by trimming at an angle, following the contours of your jawline.
This technique will keep your beard looking healthy and full.
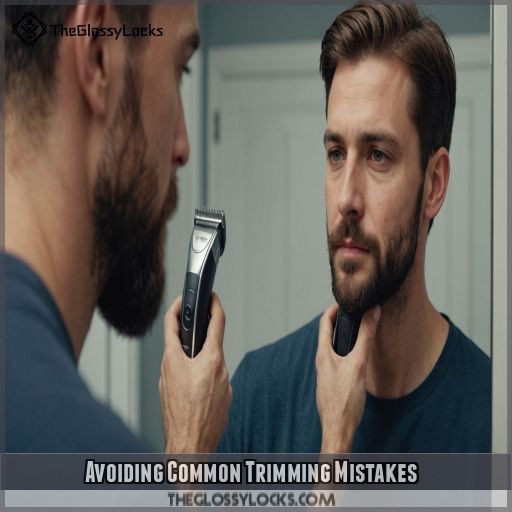
Avoiding Common Trimming Mistakes
As you master the art of trimming your short beard’s neckline, it’s essential to steer clear of common mistakes that can make or break your look. By avoiding over-trimming, which can leave you with an unnatural, creepy appearance, and under-trimming, which can make you look sloppy, you’ll be well on your way to achieving a pro-level trim that turns heads.
Over-Trimming and Its Unnatural Consequences
Don’t let over-trimming sabotage your neckline! When you get a bit too aggressive with the clippers, you risk losing jawline definition and ending up with an unnatural line. To prevent this, trim in small increments and check your progress in the mirror. If you’ve already over-trimmed, don’t panic – just let it grow out a bit and try again.
Under-Trimming and Its Sloppy Appearance
Don’t let under-trimming ruin your beard game! A sloppy appearance can be a major turn-off. Here are 4 signs you’re under-trimming:
- Your beard length is uneven
- Your neckline definition is non-existent
- You’re sporting a scraggly, unkempt look
- You’re getting weird looks from friends and family
Time to step up your trimming frequency and technique!
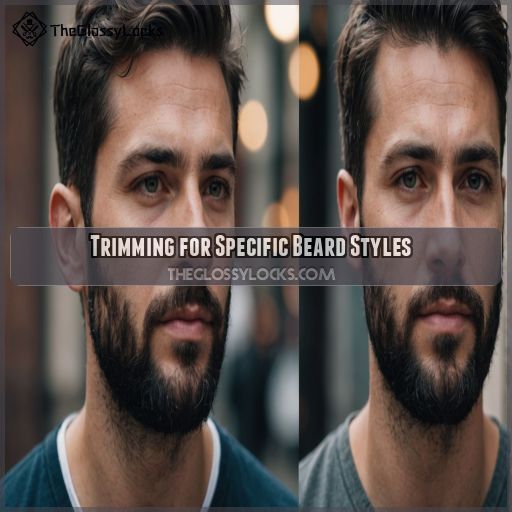
Trimming for Specific Beard Styles
Now that you’ve mastered the basics of neckline trimming, it’s time to get specific – let’s tackle how to trim for goatees, neckbeards, and full beards that’ll make you look like a pro! Whether you’re going for a sleek, clean-shaven look or a rugged, full-bearded style, we’ve got the tips to help you achieve your desired beard style.
Clean Shaving for Goatees and Neckbeards
For goatees and neckbeards, clean shaving is key to achieving symmetry. To avoid razor burn, shave in the direction of hair growth and use a sharp razor. Here’s a quick guide to get you started:
| Beard Style | Shaving Technique | Tips |
|---|---|---|
| Goatee | Shave the cheeks and neck | Use a trimmer for edges |
| Neckbeard | Shave the chin and jawline | Avoid ingrown hairs |
| Goatee + Neckbeard | Shave the cheeks, neck, and chin | Maintain symmetry |
| All Styles | Shave in the direction of hair growth | Exfoliate to prevent razor burn |
Growing a Full Beard With a Clean Look
Now that you’ve mastered the clean shave for goatees and neckbeards, it’s time to take it to the next level – growing a full beard with a clean look!
To achieve this, focus on regular beard maintenance, neckline shaping, and facial hair care.
Use beard oil to keep your beard healthy and shiny.
Be patient when going from a shorter beard to a longer one.
Regular Trimming for a Professional Look
You’ve mastered the art of trimming your short beard, but the real secret to a professional look lies in regular maintenance. By scheduling regular trims and adjusting your techniques to keep up with your changing hair growth, you’ll be sporting a polished, put-together look that’s sure to impress.
Scheduling Regular Trims for Maintenance
Want to keep your beard looking its best? Scheduling regular trims is key. Here’s what to keep in mind:
- Beard trim frequency: every 4-6 weeks
- Trim schedule tips: book appointments in advance
- Growth rate impact: trim more often if your beard grows fast
- Maintenance routine: clean and condition your beard between trims
- Professional vs. home trims: mix both for a polished look
Adjusting Trimming Techniques for Changing Hair Growth
As you schedule regular trims, don’t forget that your hair growth isn’t static. Adjust your trimming techniques to match changing hair growth phases. For example, you may need to trim more frequently during seasonal growth shifts or as you age. Be flexible and adapt to texture changes, and you’ll maintain a professional, polished look that turns heads.
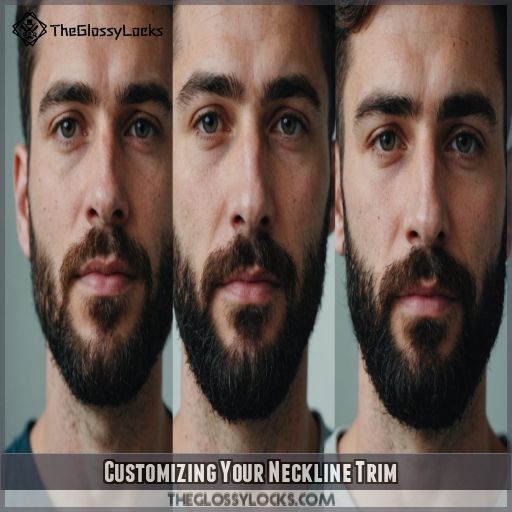
Customizing Your Neckline Trim
As you master the art of trimming your short beard’s neckline, it’s time to take it to the next level by customizing the trim to your unique face shape and hair type. By experimenting with different techniques, you’ll be able to create a personalized look that flatters your features and makes you feel confident and stylish.
Considering Face Shape and Hair Type
When customizing your neckline trim, consider your face shape and hair type. For round faces, go for a longer, more angular trim to elongate the face. Oval faces suit most styles, while square faces benefit from softer edges. Your hair texture also plays a role – coarse hair requires more precision, while fine hair needs gentle care.
Experimenting With Different Trimming Techniques
Now it’s time to get creative with your neckline trim. Experiment with different trimming techniques to find what works best for you. Try varying your trimming tool, angle, and direction to achieve the perfect shape. Don’t be afraid to mix and match methods to adapt to your unique hair growth patterns and desired style.
Frequently Asked Questions (FAQs)
Where do you trim your neckline short beard?
You’ll want to trim your neckline about one finger above the Adam’s apple, not on the jawline. Start in the middle and work outwards along the natural curve, using a mirror to guide you for a seamless look.
How to trim neckline stubble?
Ah, the art of taming the neckline stubble – a true test of patience and skill! To master it, start by using a short cutting trimmer, like the Phillips One Blade, and carefully edge along your natural neckline.
What is the rule for beard neckline?
Your rule of thumb for a beard neckline? Place two fingers horizontally above your Adam’s apple and imagine a ‘U’ shape connecting your earlobes – that’s your natural neckline, and it’s key to a well-groomed beard.
How do you trim a short beard for a jawline?
Congratulations, you’re about to get that perfect short beard look! To trim a short beard for a jawline, start by identifying your natural neckline, then use a short cutting trimmer to define the edge, following the natural curve of your jaw.
How often should I trim my short beard neckline?
You should trim your short beard neckline regularly, ideally every 1-2 weeks, to maintain a clean and defined look (Source). Regular trimming helps prevent stray hairs and keeps your beard looking neat and tidy.
Can I use clippers to trim my neckline?
Like a master chef refining their signature dish, you can perfect your neckline with clippers. Use a short cutting trimmer, like the Phillips One Blade, to define your neckline, and tidy up stray hairs for a seamless finish."
How do I prevent ingrown hairs on my neckline?
To prevent ingrown hairs on your neckline, shave with the grain , avoid excessive pressure, and trim against the grain with an electric trimmer (Source); also, exfoliate and moisturize your skin to keep it healthy and happy!
Should I trim my neckline when growing a full beard?
When growing a full beard, consider skipping neckline trimming to avoid an awkward gap between your neck and beard. Let it grow out naturally for a more cohesive look .
How do I choose the right neckline shape for my face?
Find your perfect neckline shape by tilting your head back, placing two fingers above your Adam’s apple, and imagining a ‘U’ shape connecting your earlobes – this will be your guide to a balanced, symmetrical look.
Conclusion
You’ve mastered the delicate dance of trimming your neckline for a short beard.
You’ve learned to wield your trimmer and precision blade like a pro, defining the edge and cleaning up stray hairs with ease.
Now, go forth and show off your freshly trimmed neckline short beard.
After all, practice makes perfect, and with these top trimming tips, you’re well on your way to becoming a neckline-trimming ninja, slicing through stray hairs with finesse and precision!

