This site is supported by our readers. We may earn a commission, at no cost to you, if you purchase through links.
Are you looking for a way to express your individuality? Drawing attention and showing off your style is easier than ever with hair designs.
With the right technique, tools, and knowledge, shaving intricate patterns into your hair can be simple.
Table Of Contents
Key Takeaways
- Quality equipment is important for precise and safe shaving when creating hair designs.
- It is best to start with simple designs and avoid sensitive areas when beginning.
- Personal preference should guide pattern choice, and a mirror is important for ensuring symmetry.
- Shaving designs into pubic hair requires skill, safety precautions, and may be best done with professional help.
Getting Started: What You’ll Need
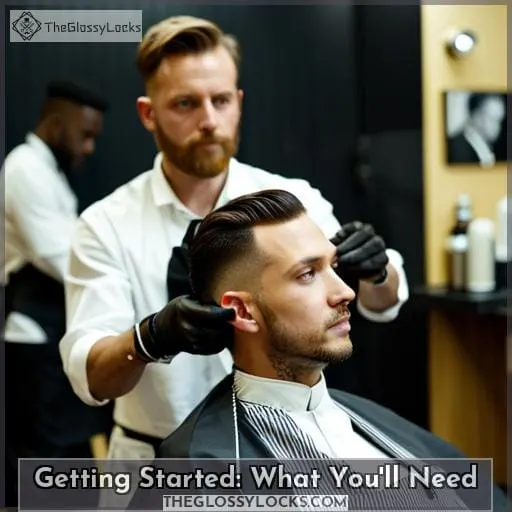
Getting creative with your hairstyle can be fun, and all you need are the right clippers, razor, gel, and other tools to get started!
Clipper basics include professional-quality clippers with stainless steel guard attachments for varying lengths. When selecting a razor, be sure to choose one that’s sharp enough for detailed work.
Design considerations should factor in the size of shaved designs as well as hair removal techniques like waxing or shaving outside stencils. Fun designs can range from simple shapes like hearts or arrows to more intricate ones requiring practice and patience.
For optimal results, use clear shaving gel when trimming shorter hairs before carefully removing them using a straight razor—all while taking safety precautions such as avoiding sensitive areas on the skin!
With creativity and care, any design will look amazing – so have fun experimenting!
Choosing the Right Clippers and Straight Razor
You can create amazing designs in your hair with the right clippers and straight razor. Start by selecting a pair of clippers that have different guard sizes, such as the Wahl Clipper Elite Pro Home Haircut & Grooming Kit for Men.
Then, get yourself an Equinox Professional Straight Edge Razor for precise lines and edges.
Clippers With Different Guard Sizes
To achieve the perfect hairstyle, you will require clippers with various guard sizes for trimming and shaping your hair. The Wahl Clipper Elite Pro Home Haircut & Grooming Kit is one of the highest-rated at-home clippers, with a 4.
8 out of 5-star rating from over 8,000 reviews. For professional outcomes, it is recommended to invest in a quality razor such as the Equinox Professional Straight Edge Razor, which can help prepare your hair before styling or shaving designs into it.
Equinox Professional Straight Edge Razor
Experience the precision and accuracy of the Equinox Professional Straight Edge Razor for your next hairstyle makeover! Its sharpness, safety, and precision allow you to create unique hairstyle patterns with ease.
Crafted from stainless steel with disposable razor blades for artistry in designing haircuts – use this good straight razor alongside Wahl Elite Pro Clippers to achieve a perfect look.
Step-by-Step Directions
Follow these step-by-step instructions to create unique hairstyle patterns with the help of clippers and a straight razor.
Start by selecting a good quality pair of clippers, such as Wahl Elite Pro’s, and an appropriate straight edge razor for sharpening lines. DIYers should use short haircuts or guard sizes when starting out, along with a plastic cape/towel and clear shaving gel.
For best results, have a clear mind before beginning. Work slowly while applying light pressure as you cut.
With patience and proper equipment like the Equinox Professional Straight Edge Razor, your style will be sure to turn heads and show off individuality!
Things to Consider Before Shaving Designs
When it comes to shaving designs into your hair, it’s important to start simple and small.
Additionally, avoid designs in sensitive areas like near your temples or ears as these may cause skin irritation if done incorrectly.
If you’re ever unsure about what you’re doing, seek professional help from an experienced barber who will be able to provide guidance on how best to achieve the look that suits your individual style.
Start Simple and Small
When it comes to shaving designs into your hair, start small and simple. Don’t try to take on more than you can handle! Safety precautions, like sharp blades and essential tools, are key for a successful shave.
Taking the time to practice with techniques such as thicker lines or outlines will help create unique hairstyle patterns.
Use the Best Equipment You Can Afford
Invest in quality tools to ensure a precise shave for your designs – you won’t regret it! Get professional advice and use the best hair clippers, such as those with precision stainless steel blades, razor blades, shaving gel, and other safety items. Quality equipment will make creating fun designs easy while also being safe when removing pubic area hair.
Cut at a 45-degree angle with the highest quality equipment like Gigi Brazilian Shave Gel for clear visibility during trimming.
Avoid Designs in Sensitive Areas
Be mindful of the placement of your designs, as a wrong move could be quite unpleasant. Intricately craft artwork that won’t irritate delicate skin or cause pain when shaving in sensitive areas. Take safety precautions like using unscented lotion for proper technique and design ideas.
Professional help is always advised if needed. Also, consider taking breaks for sanitary reasons, wax experience, and using cosmetic-grade glitter to finish off the look.
Don’t Rush the Process
Take your time and don’t be too hasty when creating a design. It’s important to go slow so you can craft the look you want. Practice patience while utilizing tools like straight razors with self-sharpening blades, sturdy waterproof stencils, and rulers or stencils for straight lines.
Remember to use caution and seek help if needed for a good result. Choose from various stencil options that fit your personality, style, and preferences to turn your hair into a work of art.
Seek Professional Help if Needed
If you’re unsure about your design, it’s recommended to seek help from a professional barber. It’s important to take safety precautions when trimming any hair and to use proper equipment. Hair coloring should be done before or after shaving, while stencils can be used to create desired shapes such as hearts and arrows.
For a Brazilian wax style, adding a little vajazzle with red lip liner can give an extra boost to your trim.
Shaving Designs Into Pubic Hair
To minimize irritation and ingrown hairs, gently trim excess hair with a dry trimming technique. Preparing to shave designs into pubic hair is key for a successful outcome. Before starting, make sure you have trimmed the hair down with clippers and applied lotion or cream beneath the stencil so it stays in place when removing surrounding hairs.
Preparation is Key
Before you embark on your pubic hair design adventure, preparation is key to ensure the best results. Trim longer hairs with clippers and use a thick lotion under the stencil for secure placement. Use a warm bath or shower to soften hair before applying shaving gel outside the stencil.
| Item | Purpose | Brand Recommendation |
|---|---|---|
| Stencils | Design outline | Waterproof stencils |
| Hair Clippers | Trimming | Wahl Clipper Elite Pro Home Haircut & Grooming Kit for Men |
| Shaving Gel | Lubrication | Gigi Brazilian Shave Gel |
Underneath the stencil, use a thick lotion or cream. Choose the best styles or patterns based on personal preference while considering what styles are achievable at home versus professional salons or spas.
Make sure you have all necessary items including stencils, hair clippers, shaving gel, and possibly body jewels before starting any designs. It is important to note that the type of pattern chosen should be based on personal preference.
Also, it is essential to have a mirror to ensure that the design is symmetrical.
Removing the Hair
Once you have all the necessary items, it’s time to start removing the hair outside of your stencil. Use clippers with guard sizes to trim down longer hairs and apply unscented shaving gel before shaving those areas.
To add flair, try body jewels or simple patterns for cool shaved designs! Moisturize afterward with light lotion to keep pubic hair designs looking their best.
Have Fun With Designs
Express yourself and get creative with your pubic hair designs! Follow these styling tips for the perfect look: 1) Consider professional help to achieve a shaped patch. 2) Use body jewels or glitter to add flair. 3) Keep safety in mind when using small bikini razors.
4) Trim excess hair from a portion of your bikini area before starting any design work.
Adding Body Jewels or Glitter
To add an eye-catching touch to your unique pubic hair designs, consider incorporating body jewels or glitter. For intricate shapes that sparkle and stand out, use cosmetic-grade glitter. Before beginning, prepare by using coloring, shaving gel, and stencils, and then shave Brazilian-style with a sharp blade.
Place the jewels in the right location for standout designs, all while in front of a good mirror with a little clear shaving gel.
Tips for Shaving Designs
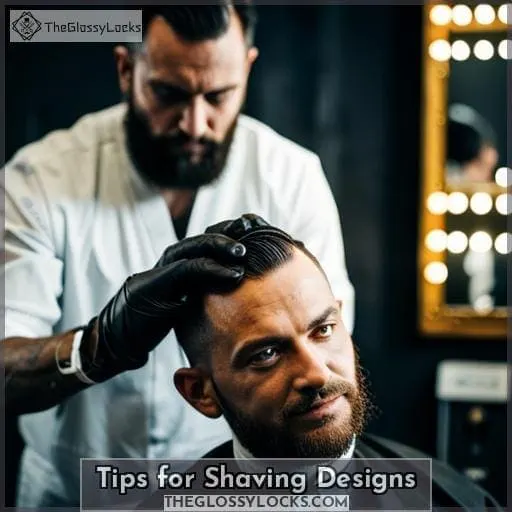
When shaving designs into your hair, it is important to work slowly and with light pressure. Take breaks if you feel your arm or hand getting tired, and do not hesitate to call a barber for help if needed.
Working Slowly and With Light Pressure
Take your time as you trim and shape the hair, using light pressure to avoid snagging delicate skin. Safety precautions should be taken when shaving designs into shorter lengths of hair. When choosing a shaving gel or cream, consider a top-rated option like best shaving creams for men, such as Billy Jealousy Hydroplane Shave Cream, for better results. Use a sharp blade with clear shaving gel or cream for better visibility. Remember that basic shapes like hearts or arrows are easier to design, but professional help may be needed in more complex patterns.
So take it slow and avoid rushing the process. Seek assistance if needed! Make sure you’re fully awake and aware before starting any sort of project involving sharp blades on sensitive areas.
Taking Breaks
If your arms or hands start to feel tired, give yourself a break and come back with renewed energy. Staying focused while shaving designs is critical for achieving the desired finished results. Before taking on any tasks that require sharp blades, especially around delicate skin areas, be sure to assess the risks.
When starting out, follow directions carefully and remain alert at all times. It’s best to begin with simple styles and gradually gain confidence in crafting more popular men’s hairstyles like the Faux Hawk or Undercut Fade.
Additionally, try going outside of the stencil for a more personalized look. Remember, safety should always be the top priority when working with razor blades and scissors near sensitive areas, especially when following proper pre-shave preparation techniques.
Knowing When to Call a Barber
When attempting to craft intricate designs, it’s important to know when to call on a professional barber for assistance. Crafting hair designs with boldness and creativity requires confidence and skill beyond what most at-home clippers can provide.
Professionalism is key when dealing with sharp blades used around sensitive areas of the skin.
Ultimately, safety should be the top priority in any situation where razors are involved. Seeking expert help is recommended if you’re ever unsure or nervous about using them yourself.
Frequently Asked Questions (FAQs)
How long does a shaved design last?
Shaved designs can last anywhere from a few weeks to several months, depending on the care taken and how often you style your hair. Regular trims, moisturizing, and avoiding harsh styling products help keep them looking fresh.
Are there any risks associated with shaving designs?
Yes, there are some risks associated with shaving designs. Sharp blades used on delicate skin can cause irritation or cuts if not handled carefully. You may also experience razor burn or ingrown hairs if you don’t use the right products and techniques.
It’s important to take precautions when shaving these intricate designs into your hair for safety purposes.
What is the best way to maintain a shaved design?
Maintain your shaved design by regularly trimming it with a clipper guard and a sharp razor. Use an unscented lotion or cream to keep the stencil in place, and then apply shaving gel before shaving outside of it.
Are there any special tips for shaving designs on curved surfaces?
When shaving designs on curved surfaces, it is important to use a light touch and make small strokes to prevent skin damage. For optimal results, shave in the same direction as your hair growth. You may want to consider purchasing a razor with an ergonomic handle or using multiple mirrors to improve visibility.
Can I use the same clippers and straight razor for both facial hair and hair designs?
Yes, you can use the same clippers and razor for both facial hair and hair designs.
Conclusion
Shaving designs into your hair can be a fun way to express yourself. It is an art form that requires some skill. With the right tools and a steady hand, you can create unique patterns and styles that turn heads.
But it’s important to remember that this is a delicate process that should be done carefully. So take your time, use the right equipment, and treat your scalp with respect. Consider working with a professional barber if you’re feeling unsure, and always take safety precautions.
With a little bit of patience, you can create a look that is sure to show off your personality.

