This site is supported by our readers. We may earn a commission, at no cost to you, if you purchase through links.
Achieve a look of mastery and intrigue with the ancient tradition of beard beading. Adding beads to your facial hair is an easy process once you know how. Popular among Viking warriors who believed their beads had magical powers to protect them in battle.
Put aside any hesitation and learn the steps for putting on beard beads quickly and properly.
With these 9 simple steps outlined below, you’ll soon have a stunningly stylish Viking-inspired look that will make heads turn wherever you go!
Table Of Contents
- Key Takeaways
- Choosing the Right Beads for Your Beard
- Gathering Supplies for Beading Your Beard
- Preparing the Bead and Thread
- Stringing the Bead Onto Your Beard
- Adjusting the Bead for the Best Look
- Securing the Bead in Your Beard
- Adding Multiple Beads to Your Beard
- Styling Your Viking Beard With Beads
- Caring for Your Beard and Beads
- Frequently Asked Questions (FAQs)
- Conclusion
Key Takeaways
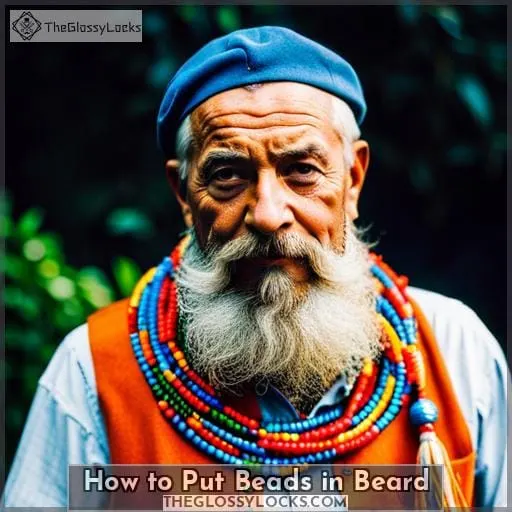
- Choosing the right size and material of beads is important for styling your Viking beard.
- Implementing a regular cleaning routine is crucial to keep bacteria at bay from accumulating on threads and beads.
- Use strong thread and thin wire with a bent end to style beads onto your beard, ensuring the hole size is appropriate for pulling hairs through.
- Let your imagination and creativity run wild when choosing beads that complement your personal style and interests.
Choosing the Right Beads for Your Beard
When it comes to styling your Viking beard, choosing the right size and material of beads is key – so pick carefully! Handmade glass beads from Beauxbead.
Various sizes and materials are available depending on how you want to style your beard; however, make sure the hole in each bead is large enough to fit around a hank of hair when threading tips come into play.
Wire wrapping can also be used if more than one bead needs adjusting technique-wise.
For instance, a stack of beads strung together with wire or strong thread makes an eye-catching addition that complements any Viking look! Additionally, complementing eye color or reflecting seasonal themes through chosen colors adds another level of detail that enhances bearded beauty even further!
Beads should be adjusted accordingly so they show their best side while allowing some looped hair below them before being tugged gently but securely in place – ensuring Bad Beard Days don’t happen too often! Enjoy experimenting with all sizes and types as adding handmade glass beads allow personal interests like sports teams or steampunk styles shine through whilst having fun at the same time…allowing grandchildren’s future admiration too perhaps?
Gathering Supplies for Beading Your Beard
Now that you’ve chosen the perfect beads for your Viking beard, it’s time to gather the supplies needed.
For starters, make sure you have plenty of strong thread and thin wire on hand. These will be essential when wrapping multiple beads together. Additionally, don’t forget the important step of pulling a loop of thread through each bead in order to pull a hank of hair through it.
To help keep all ends secure while doing this task, wrap them around two fingers or even use your left hand as anchor support.
Wire loops also aid in holding multiple strands securely when creating intricate looks. However, practice makes perfect here, so take extra care before attempting any advanced techniques along those lines.
Good luck styling like an actual Viking god and happy beading, folks!
Preparing the Bead and Thread
Make sure to adjust the bead so that its best side is visible and leave a small loop of hair below it.
Threading techniques for Viking beard beads vary depending on the size, but once you have your supplies ready, it’s time to start prepping.
To make sure there’s enough tension on the thread when pulling through your hank of hair, use either two fingers or even your right hand as an anchor support.
Once you’ve successfully threaded a single bead onto one strand of hair, consider advancing into more complex methods such as creating wire loops or using multiple strands and beads in tandem with thin wire and strong thread.
Be careful not to pull too tightly when attaching any extra accessories like skull beads or threaded nuts, which could damage both the beard hairs and surrounding skin if not properly managed – practice makes perfect here!
With some patience (and perhaps help from friends), soon enough you’ll be able to proudly sport those unique facial adornments while showing off who you are with every step taken!
Stringing the Bead Onto Your Beard
You’re ready to bring your Viking look to life by stringing those beads onto your beard! Pull the hank of hair through a loop of thread, then wrap the loose ends around two fingers for tension. Choose bead sizes that fit snugly on your hairs and adjust the tension as needed.
Secure them in place with one or two folded strings before sliding a bead over it.
Once you’ve done this, make sure there is still a small loop of string left below each bead so they don’t slip off too easily – avoid using rubber bands instead! The next step is adjusting each beaded strand along its natural path until you’re satisfied with how it looks and feels.
Adjusting the Bead for the Best Look
Adjust your bead so it can show off its best side and let a small loop of hair drop below it to enhance the look. Tensioning the loop is important before pulling hairs through, so start by wrapping them around two fingers for stability.
Place a mirror in front of you while adding each piece, as this will help spot any misalignments or misplaced beads quickly. It’s okay to have bad beard days – just be prepared if removing multiple pieces later on becomes necessary! Variety is key when selecting materials and colors; try different combinations until you find what works best for your Viking style beard beads.
Strategically place each piece starting from the bottom up, keeping in mind that there should always be a finished-looking end underneath every single one. Pay attention to not only size but also thickness – remember that bigger isn’t necessarily better here! Don’t forget about selection too – choose ones that represent personal interests or reflect eye color/seasonal vibes depending on the occasion at hand.
With proper tensioning and careful placement, soon enough those carefully chosen Viking beard beads will bring out all kinds of personality in no time flat!
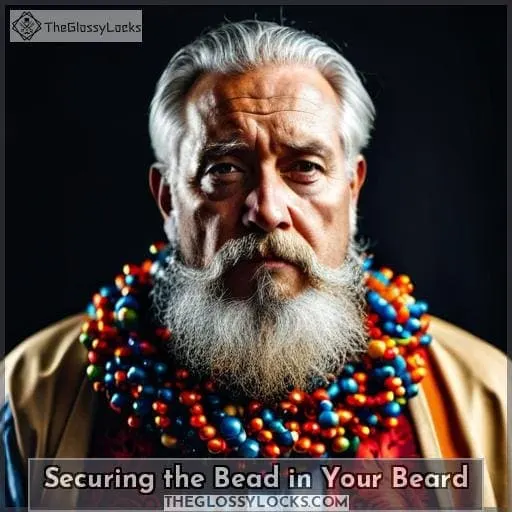
Securing the Bead in Your Beard
Once you have the tension set, tug gently on your beard beads to secure them in place.
For best results when threading technique and bead sizing:
- Choose a grip strength that will not pull too many hairs out if needed for fewer strands or smaller holes for more hair per bead;
- Make sure the desired look has been achieved with the right material and length of beard;
- Implement a regular cleaning routine as this helps keep bacteria at bay from accumulating on both threads and beads;
- Don’t forget personal style – choose colors, shapes, or sizes that reflect your interests while still complementing other adornments like earrings or necklaces!
With these tips in mind, now you can confidently flaunt your unique Viking-style Beard Beads knowing they’ll stay securely fastened throughout all kinds of adventures ahead!
Adding Multiple Beads to Your Beard
Having several beads along your chin can create a unique look, adding an extra level of style and personality to your beard. Adding patterns, different sizes, and mixing colors are some of the most popular ways to achieve this effect.
To secure multiple beads in place, consider using small beard beads or implementing the single bead method for each section. When selecting bead colors and materials, keep in mind Viking styles that may complement your own unique look.
As you add more beads to your beard hairs, be sure not to pull too hard on them so they remain securely fastened throughout all kinds of adventures ahead!
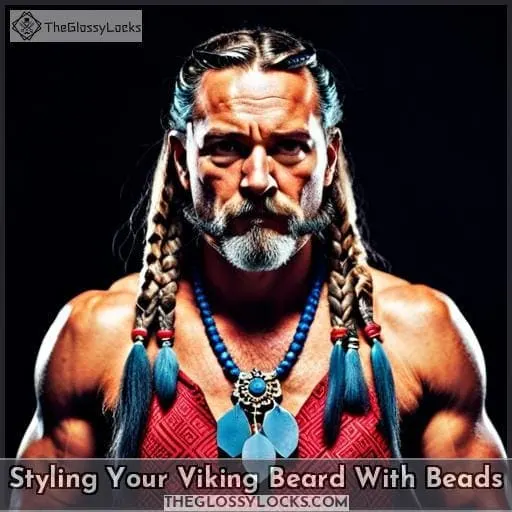
Styling Your Viking Beard With Beads
You can add a touch of personality to your Viking beard by styling it with beads. With the right size and materials, you can make sure that these magical powers are securely held in place on your traditional Viking beard.
Modern-day Norsemen use threaders to help guide the bead along their chin or jawline quickly and easily, allowing them to get creative when building their unique way of expressing themselves through their facial hair adornment!
The most popular type of beard beads come in various sizes and colors — just be sure to choose ones that complement each other for an eye-catching result! To ensure long-lasting wear time from your Beard Beads, simply clean them once a week with mild soap then dry thoroughly before storing away safely for future use.
Just don’t forget – pull gently but firmly with your left thumb as you push up against the string’s tension from below.
Caring for Your Beard and Beads
Now that you’ve added Viking beard beads, it’s important to care for them properly. To protect your beads from damage, make sure to select the right size and material for your particular type of facial hair.
Depending on how thick or thin your beard is, choose a bead that can accommodate its thickness with ease.
When styling the bead onto the chin or jawline, use strong thread and a thin wire with a bent end so you can easily pull through individual strands of hair without damaging any follicles in the process.
Finally, keep in mind that when removing beads, there may be some knots. Just take extra time untangling those pesky tangles before storing away safely until the next use!
Frequently Asked Questions (FAQs)
How do I choose the right beads for my beard?
Choose beads that complement your partner’s adornments, reflect the season, or personal interests like sports teams. Ensure that the hole size is appropriate for pulling hairs through and consider the materials used.
Thread a loop of strong thread to pull a hank of hair through and adjust the bead for the best side to show.
What are the best supplies to use for beading my beard?
To bead your beard, you will need strong thread, thin wire, beads of the appropriate size and material for pulling hair through them, and a mirror.
How do I prepare the bead and thread?
Gather your supplies and get ready to add some style! Get a strong thread or thin wire, and choose the right-sized bead that has a hole big enough for pulling through hanks of hair. Wrap the loose ends of the string around two fingers to help hold them in place.
What is the best way to string the bead onto my beard?
To string a bead onto your beard, pull a loop of thread through the hole and wrap it around two fingers. Keep tension on the loop while gently pulling strands of hair through the bead for a secure fit.
How can I ensure that the bead is secure in my beard?
Make sure to maintain tension on the loop while pulling your hair through the bead. Wrap it around one or two fingers to hold it in place, and gently tug on the bead afterwards to ensure it is secure.
Conclusion
Now that you know how to add beads to your beard, you can go forth and create the perfect Viking look. Whether you choose beads to reflect personal interests, complement your eye color, or just to have fun with, you can make sure your beard stands out.
As you adorn your beard with beads, think of it as a canvas, and you’re the artist. Use your imagination and creativity to create a look that you can be proud of. Let your beard be the masterpiece of your style, with the beads as the finishing touches that make it truly unique.

